Toyota RAV4 Forums banner

4th Gen RAV4 Coolant Drain and Fill

1 reading
55K views 29 replies 15 participants last post by  dt123  
#1 · (Edited)
Changed the coolant on my 2015 RAV4 today and took a couple pics.
This is a simple drain and fill of the radiator, if you want to get all crazy and drain the engine block then the volume of fluid will probably be more.
The design of the cooling system on this generation makes it one of the easiest to perform the maintenance service.
No need for ramps or jacking up the RAV for access.
The reservoir sits high up in the engine bay so burping the system is basically automatic.
This generation of RAV4 does not have a radiator cap on the actual radiator, it is on the reservoir, so no need to remove the top radiator cover. You do however need to remove the lower cover.


Tools and supplies I used:
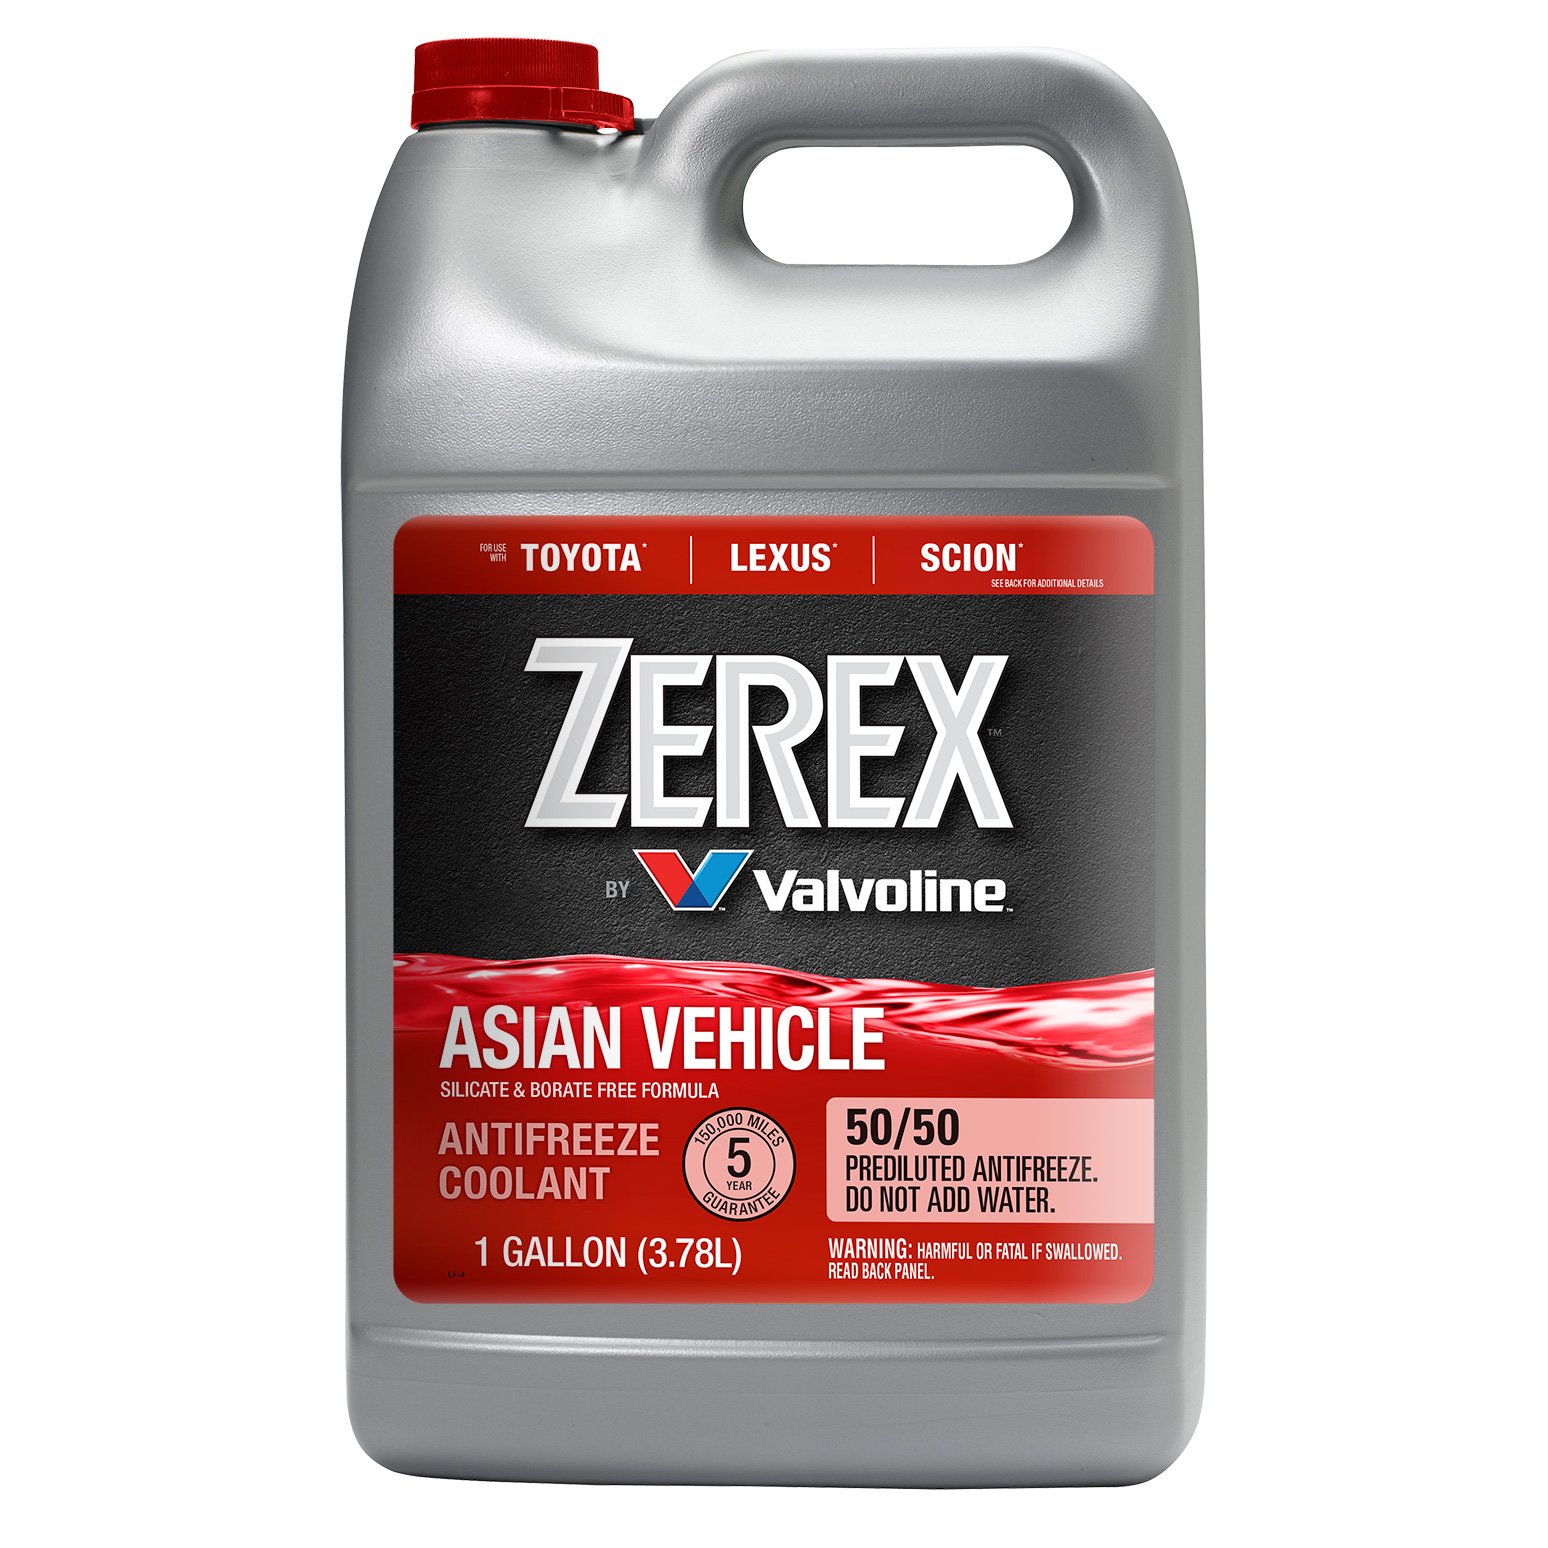
2 gallons Toyota Super Long Life Coolant (premixed)
10mm socket, ratchet, extensions
small flat blade screwdriver (for plastic clips)
Pliers (for reservoir hose clamps)
Clear vinyl tubing 5/16”ID
2 empty gallon size plastic containers.
drain pan for drips
anti-seize for bolts
shop towels
gloves
 
#2 ·
Toyota Super Long Life Coolant (00272SLLC2)
This is the only coolant I would recommend. Some dealers charge an arm and a leg for it and finding a dealer to ship it is rare.
List price is currently $20.24/gal. My local Toyota dealer wants $24/gal and my local Lexus dealer wanted $39.00/gal.
This is what I recommend...
Go to the Toyota parts website Toyota Parts Center Online | Genuine Parts & Accessories
Search Toyota SLL coolant - 00272SLLC2
Find a local dealer near you with a decent price, most won’t ship it.
I got it for $14.93/gal from a dealer 100 miles away in Sacramento (Maita Toyota). I placed an online order and picked it up during a road trip to Big Sur.

161209
 
#4 · (Edited)
Find the drain petcock on the left side (drivers side) of the radiator.
On the bottom is where you will connect the 5/16” ID tubing to the drain fitting. This petcock is plastic so be careful with your superman strength getting the tubing over the fitting. You can heat the end of the tubing over the stove or in hot water to make it easier.
Put the other end into your container. Have the second container ready.
Loosen the valve a few turns, enough to get the coolant to flow. Don’t take it all the way out.
You will get some drip no matter how much you open it.
Take the cap off of the reservoir.
161212

161213


161214

161215
 
#5 · (Edited)
If you want to clean the reservoir you can do it while the coolant is draining.

Use pliers to move the two hose clamps, twist the hoses carefully to break them loose and they should come off easily.
The reservoir is held on with two 10mm bolts.
The one closest to the firewall is mounted to a bracket that will easily turn if you don’t hold it.
After cleaning, make sure to get all of the water out. I blew it out with an air compressor.
Reinstall the res, and reconnect the hoses.

There is really no need for this if you’re performing the coolant service within the specified interval. The exception would be if you see contamination in the reservoir or in the coolant that is draining.

161216
161217
161218
 
#6 · (Edited)
Once the coolant has finished draining, you will probably have about 1.25-1.5 gallons of the old stuff.
Tighten the drain petcock finger tight and remove the hose.
Add new coolant to the reservoir until it reaches the bottom of the neck. Any more and it will spill from the overflow. Coolant will slowly drain into the system so keep it topped up.
At this time, double check the drain petcock is finger tight and check for leaks. Check your hoses are seated and the clamps have been returned to their original position.
Now you can replace the lower cover. Use a small amount of anti-seize on the bolts.

Continue adding coolant as it fills the system. You don’t need a specific coolant funnel but if you have one it makes filling a bit easier. You can barely see mine in the pic below.
Once the level in the res has stopped going down, squeeze the upper coolant hose on the left side of the radiator a few times (on your right facing the engine).
Start the engine and warm it up until fully warmed. Turn the heater on fully and set the fan to 1. Toyota warns you to watch the coolant temp gauge to make sure it doesn’t go too high as a result of air pockets.
If the level isn’t going down and the upper hose isn’t getting warm, you‘ll probably need to take it for a quick spin. Put the radiator cap back on before doing this.

161219
 
#19 ·
Thanks for the detailed write up. I just did a coolant flush on my 1998 RAV4 2WD A/T (Gen 1) with 62K miles. I added Toyota Long Live Coolant (concentrated/Red) and replaced the thermostat as well since there are no service records from previous owners. I was wondering if the new thermostat was working properly. I guess if I take it for a long test drive and it doesn't overheat, I'm good.
Great write up, good to to know!
Great article thanks very much! Dave B New Zealand:)
 
#7 ·
The level should go down a small amount after the engine is fully warmed enough to open the thermostat. Mine only went down the to “Full” line.
If you need to add more, make sure to wait until the system is cool enough to take off the cap.
Make a note of the date and mileage for your service records.
I recommend checking the level daily for a couple days and add coolant when cold. My Toyota’s usually settle just below the “Full” line, if you continually add coolant to reach the line you may just see it burp out of the overflow. YMMV.
161220
 
#16 ·
The level should go down a small amount after the engine is fully warmed enough to open the thermostat. Mine only went down the to “Full” line.
If you need to add more, make sure to wait until the system is cool enough to take off the cap.
Make a note of the date and mileage for your service records.
I recommend checking the level daily for a couple days and add coolant when cold. My Toyota’s usually settle just below the “Full” line, if you continually add coolant to reach the line you may just see it burp out of the overflow. YMMV.
View attachment 161220
Clean engine!
 
#12 · (Edited)
Thanks. I like doing these so five years from now, when it’s time to do it again, I can remember what I did.
I did this maintenance early (only 56k) but our RAV4 has a hard life of tons of short trips and lives outside.
Officially the interval is...
”Toyota Maintenance Schedule for SLL coolant: “Initial replacement at 100,000 miles/120 months. Replace every 50,000 miles/60 months thereafter.”

edit: Also, a guy from Bobistheoilguy.com posted a coolant change and several flushes on his 2014 Jeep and it was not pretty.
 
#18 ·
Thanks for the detailed write up. I just did a coolant flush on my 1998 RAV4 2WD A/T (Gen 1) with 62K miles. I added Toyota Long Live Coolant (concentrated/Red) and replaced the thermostat as well since there are no service records from previous owners. I was wondering if the new thermostat was working properly. I guess if I take it for a long test drive and it doesn't overheat, I'm good.
 
#20 ·
@1000MPH Just wanted to say thanks for the write up and pictures. I did this on my 2014 LE AWD RAV4 this past weekend. Want to emphasize to everyone to continue to check the coolant level for a few days after the drain & fill. I've had to add a little after each time I drove the vehicle as the system has settled and air pockets have been filled.
 
#22 ·
Just did this on my 2015, at 9 years and 11 months since being placed in service. The write-up is correct, simple drain and refill. I think the reason the next change is due at only 60 months is because the old fluid is not completely drained, or else it would be more like 2 gallons rather than just 1.3 or so, and if it were full of new Super Long Life it would be good again for 120 months. That's my take on it anyway,
 
#24 ·
@1000MPH

I changed the coolant on my RAV4 today and wanted you to know that I found your DIY very helpful! Thank you for providing such a clear explanation and context to the procedure!

Cheers!
I’m glad it helped. I changed the coolant on my 4Runner last week for the 3rd time and I still refer to “how-to‘s”.
…and here’s a tip for US owners…
I got Lewis Toyota in Kansas to ship me coolant during a sale a little while back. Under $19/gal and free shipping for my $75+ order.
 
#27 ·
The Toyota coolant is not required. Plenty of aftermarket options for your 5yr intervals. I'd never even consider running the factory fill for a decade or 100k miles. But, guess someone is gambling on whether your water pump, bypass valve, radiator.... will last that long.

Some 50:50 choices:


And concentrated if you want to blend you own ratio or if you made the mistake of a garden hose flush:


#28 ·
Thanks for doing all that thinking for us, Greasy. With a change interval of 10 years, I'm just fine with using Toyota Super Long Life.

By the way, it's your car and you can do whatever you want to yada yada yada, but the 10 year change interval is based on the anticorrosion additives being used up at a very slow and predictable rate. Because Chemistry. So there is no reason to distrust the 10 year longevity of Super Long Life.
 
#30 ·
Because you can't drain out all of the original fill. Out of 2.0 gallons, you can only drain out 1.3 gallons. When you replace that with 1.3 gallons, you have a 2/3-1/3 mix of new and old. Therefore the longevity is now about half, or five years. Really it could be 6-2/3 years, but I guess that was deemed to be too complicated.