

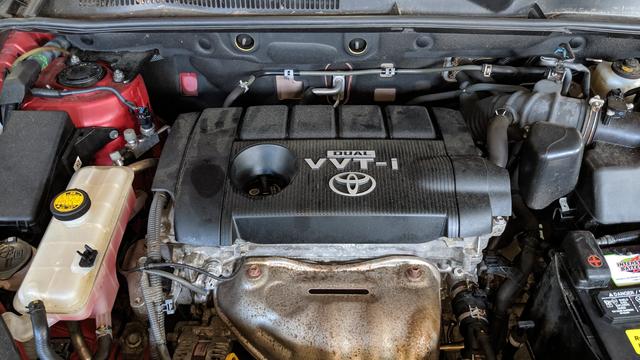
This DIY will replace the intake VVT-i gear on 2AR-FE equipped Rav-4s and other Toyota models. There is a design defect in the factory part not allowing enough oil to get into the gear during start up, causing the death rattle sound. See the linked TSB PDF for the parts list. This cost me about $300 to do using all OEM parts. The TSB calls for a special tool that I did not end up using.
I am at the DIY level to replace shocks, fluids and brakes. When I started this job this was at the max of my skill level. Now I could probably do the job again in a full Saturday. The Toyota provided instructions were really lacking.
This guide is provided to you for entertainment purposes only.
Let's begin:
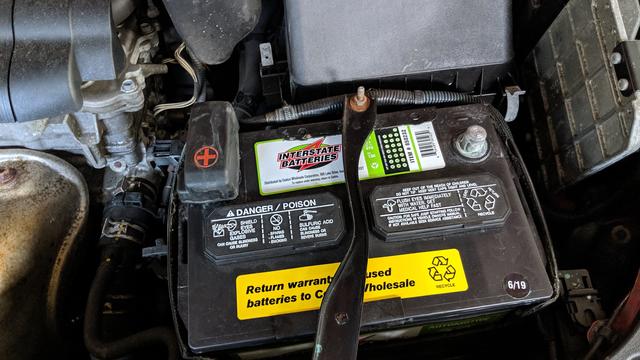
Disconnect the battery and remove the plastic cover. The negative battery terminal is a 10mm bolt.
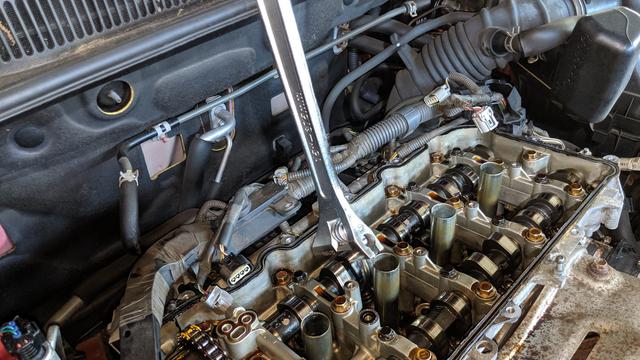
Go along the valve cover and disconnect all of the sensors, coil packs and push away the wiring harness. All of the nuts are once again 10mm. I disconnected the harness ends that went to the alternator as well. Once everything is unbolted you can pry up the valve cover.

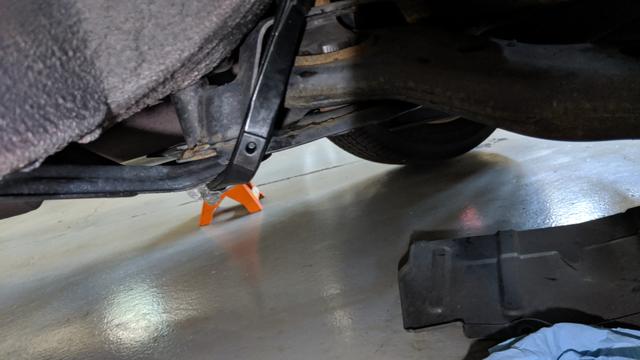
Jack the car up and remove the passenger side wheel. There is a little splash shield held on by a few plastic clips that will probably break. You will then see the 22mm crankshaft bolt that you will use to turn the engine to top dead center.
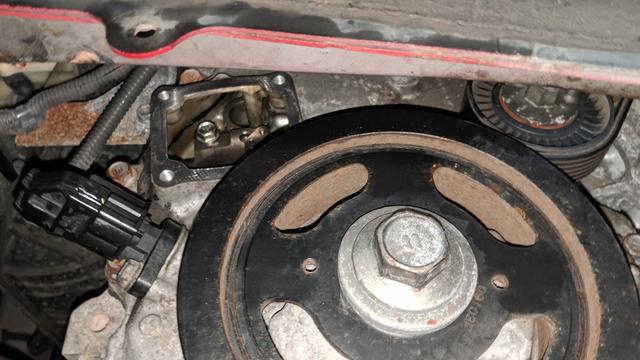
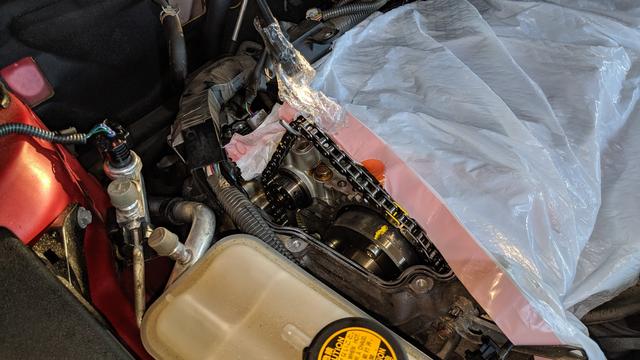
Use the TSB diagram to find TDC. Then, paint it yellow with a paint pen. Turn the crank 10° counterclockwise to give some slack to the timing chain. You can then remove the top timing chain guide with the 12mm bolt.
Above the crankshaft bolt you will find the timing chain cover held on by four 10mm bolts. Pop the cover off and you will see the timing chain tensioner. Stick a pin into that chain link looking thing and remove the two 10mm bolts. You can now pry away the tensioner from the front of the car to pop it off.
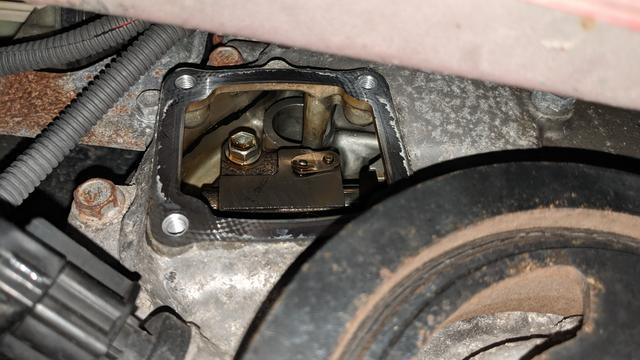
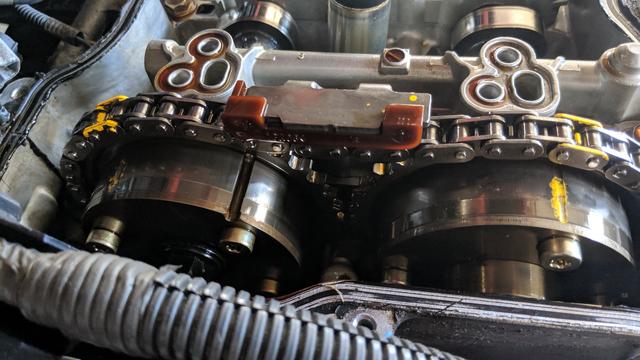
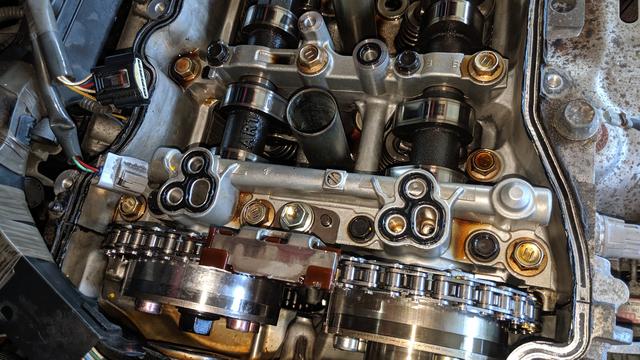
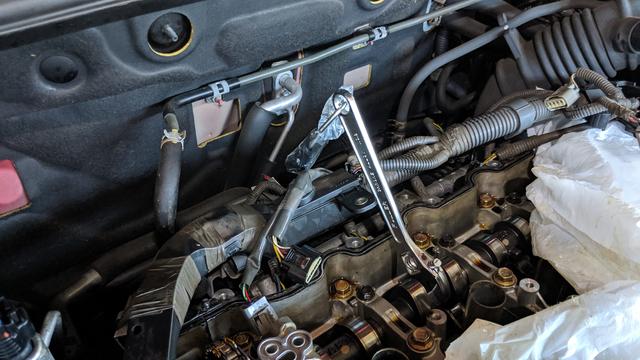
Take a 14mm hex socket and remove the service plug from the timing cover. Then using a 17mm socket wrench and a large adjustable wrench over the camshaft remove the vvt-i gear bolt. You can then pry off the gear from the camshaft. Once the timing chain is removed hold it up with a rubber bungee cord. The gear will need to be rotated so the key way is facing 5 o'clock position to be able to be removed from the engine.
Grab your new gear and make sure it is unlocked. If it is locked or if you lock it up early during the install then good luck to you. I accidentally locked my gear up and the process to unlock it didn't work. I ended up buying a whole new gear. Look at the PDF to see if your gear is unlocked or not. Once the gear is on and the chain is lined up over it tighten the bolt down to 63ft lb. Once the gear is bolted down you can then turn the gear and / or the camshaft a bit until the vvt gear locks itself. Make sure to hold the chain down so it does not skip. If it does skip you can try to move the chain along the gear to get it back in time.

Reinstall the top timing chain guide by bolting the 12mm bolt down to 15 ft lb. You can now reinstall the 14mm hex service port bolt with a new gasket to 22 ft lb. I also replaced the three little oil passage gaskets at this time as well.
Next you will need to turn the camshaft a little bit counter clockwise to be able to install the tensioner. I used another rubber bungee cord attached to the sub frame to keep it pushed down.
I got stuck on this part for a few hours since the PDF didn't show how to reset the tensioner. Hold the little link down and push the plunger almost all the way in. Then use a pin the hold it in. Replace the gasket on the back side of the tensioner. It was tricky getting the tensioner back into the engine. Take your time and do not drop a bolt. Once the two 10mm bolts are torqued down to 7ft lb you can release the pin. I then turned over the engine a few times by hand to make sure everything was OK. Reinstall the timing chain tensioner cover with a new gasket by tightening the four 10mm bolts down to 7ft lb.

Place down some Three bond or equivalent down on the gap between the timing cover and the cylinder head. The PDF calls for a 5mm strip. Reinstall the valve cover by torquing down the 16, 10mm bolts to 9ft lb.
Reinstall everything else except the coil packs. I cranked over the engine without the coil packs in to make sure nothing sounded bad. Once the engine sounded ok you can try a full start up.
All of the lights went out except the maintenance required light; I cleared it with Tech-stream. This job should take a real mechanic a few hours but I spent three days. If you take your time and be careful you can save yourself $1500 by not going to the dealer.
Google Drive Folder for Photos: https://drive.google.com/drive/folders/12_54eVNJVDkwSVmjEe4smUdVxsuAwT5v?usp=sharing


