

I hope this is the right section - if not please move.
I have lurked around this forum for little over a year now, but it wasn't until I totaled my 2007 Toyota Prius and purchased a 2009 V6 4WD Sport SAP that I actually became an active member.
Just wanted to start a build thread for my Rav4 like I did my last two Prius. Neither of them remained stock for long and I doubt that the Rav4 will either.
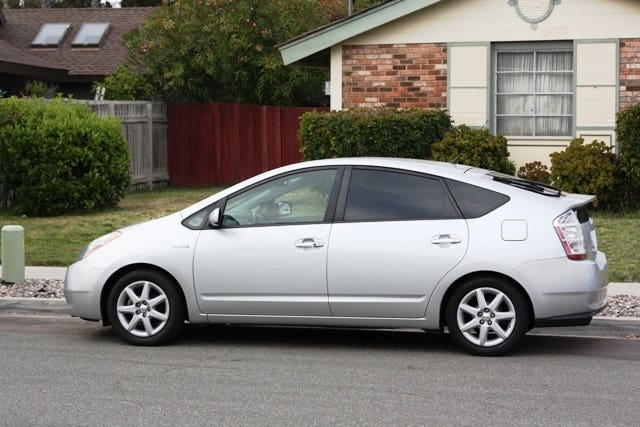
My 2008 Prius touring started like this:
![Image]()
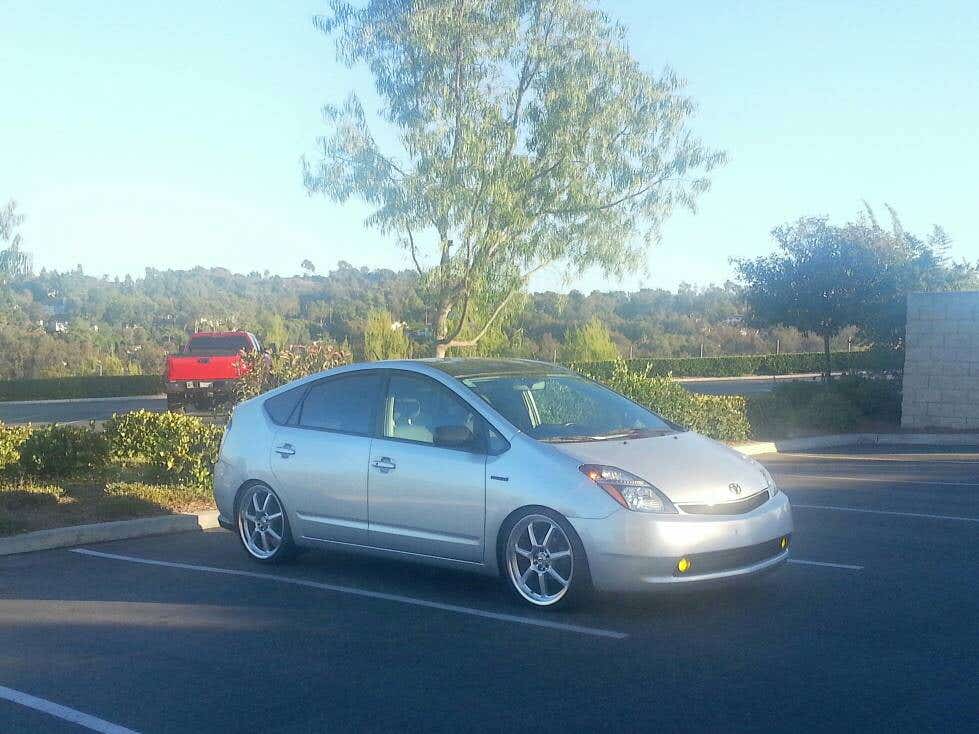
Ended like this:
![Image]()
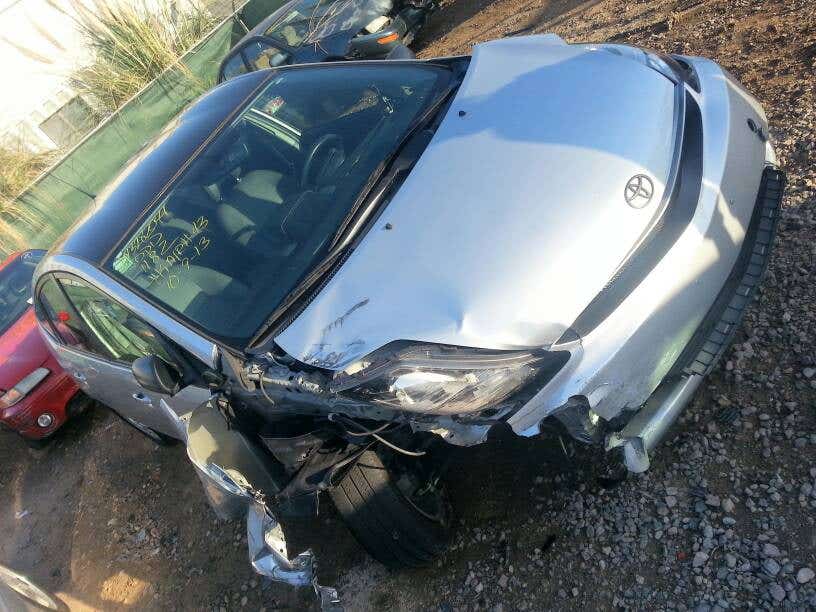
Actually more like this:
![Image]()
I have lurked around this forum for little over a year now, but it wasn't until I totaled my 2007 Toyota Prius and purchased a 2009 V6 4WD Sport SAP that I actually became an active member.
Just wanted to start a build thread for my Rav4 like I did my last two Prius. Neither of them remained stock for long and I doubt that the Rav4 will either.
My 2008 Prius touring started like this:
Ended like this:
Actually more like this:


") However after installing, i had my wifes tell me it seemed quicker... of course this is just based off her butt dyno so no real data proof. As long as she's good with it...
However after installing, i had my wifes tell me it seemed quicker... of course this is just based off her butt dyno so no real data proof. As long as she's good with it... 


