A while back I noticed my windshield washer on the passenger side seemed weak, while the one on the driver's side was too strong:
![Image]()
The first thing I thought of was the passenger side spray nozzle was clogged. The first thing most people suggest is poking a pin or needle into the nozzle, but DON'T DO IT, at least not on a late model RAV4. Our vehicles use a special nozzle that sprays a fan-shaped pattern onto the glass, and poking a pin or needle in there can damage them:
![Image]()
Determined to find the problem, I started digging. Following the washer hose along the hinge and into the hood, it disappears behind the hood insulation:
![Image]()
This is the hood insulation in place:
![Image]()
It has to be removed to troubleshoot the washer lines. The insulation is partially held in place by 2 metal hooks:
![Image]()
And also by 7 of these plastic fasteners:
![Image]()
The fasteners have to be carefully pried out. They can be quite stubborn, and when they do release, have a tendency to go flying into the nether reaches of the engine bay. I ended up breaking 4 of them:
![Image]()
Luckily, the local AutoZone had some for *only* $3 for a 2-pack. Probably would have been cheaper at the dealership:
![Image]()
After the insulation is removed, set it aside:
![Image]()
Here's what the washer tubing lines look like under that insulation:
![Image]()
![Image]()
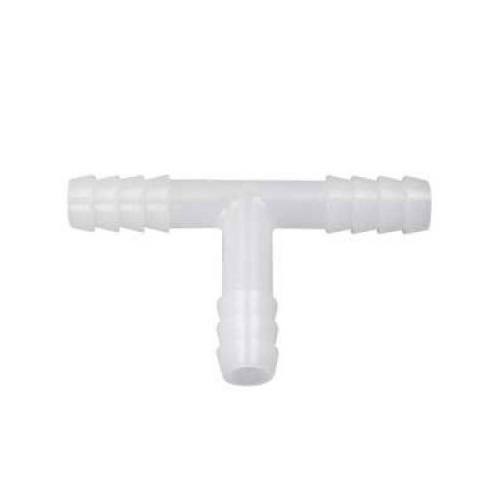
As you can see, there is a T fitting that routes the main washer hose line into a separate line for driver's side and passenger side nozzles. But this thing is much more than a simple T fitting:
![Image]()
Not only does it regulate the pressure between the nozzles, it is also a check valve that prevents the washer fluid from draining back into the reservoir. If there is a significant delay between pulling the wash lever and the spray appearing, you may have a bad valve. In my case, swapping the 2 output lines caused a weak spray on the driver's side, so I knew it was the culprit. A quick trip to my dealership's part counter yielded a replacement--Part No. 85321-28020, Valve Sub Assy:
![Image]()
*Only* $20 AFTER I asked the parts guy for a discount! Yes, you can find it cheaper online, but after paying for shipping, who knows? It was then a simple task to replace the bad valve for this one. Then putting the rubber lines back into place. One line goes into the plastic clip and the other was secured to the plastic tab with blue tape:
![Image]()
Then it's time to put the insulation back. First, secure the insulation on the 2 metal tabs then push the 7 plastic fasteners in place. They go in a lot easier than they came out:
![Image]()
The final result--a nice even spray all over the windshield:
![Image]()

The first thing I thought of was the passenger side spray nozzle was clogged. The first thing most people suggest is poking a pin or needle into the nozzle, but DON'T DO IT, at least not on a late model RAV4. Our vehicles use a special nozzle that sprays a fan-shaped pattern onto the glass, and poking a pin or needle in there can damage them:

Determined to find the problem, I started digging. Following the washer hose along the hinge and into the hood, it disappears behind the hood insulation:

This is the hood insulation in place:

It has to be removed to troubleshoot the washer lines. The insulation is partially held in place by 2 metal hooks:

And also by 7 of these plastic fasteners:

The fasteners have to be carefully pried out. They can be quite stubborn, and when they do release, have a tendency to go flying into the nether reaches of the engine bay. I ended up breaking 4 of them:

Luckily, the local AutoZone had some for *only* $3 for a 2-pack. Probably would have been cheaper at the dealership:

After the insulation is removed, set it aside:

Here's what the washer tubing lines look like under that insulation:


As you can see, there is a T fitting that routes the main washer hose line into a separate line for driver's side and passenger side nozzles. But this thing is much more than a simple T fitting:
Not only does it regulate the pressure between the nozzles, it is also a check valve that prevents the washer fluid from draining back into the reservoir. If there is a significant delay between pulling the wash lever and the spray appearing, you may have a bad valve. In my case, swapping the 2 output lines caused a weak spray on the driver's side, so I knew it was the culprit. A quick trip to my dealership's part counter yielded a replacement--Part No. 85321-28020, Valve Sub Assy:

*Only* $20 AFTER I asked the parts guy for a discount! Yes, you can find it cheaper online, but after paying for shipping, who knows? It was then a simple task to replace the bad valve for this one. Then putting the rubber lines back into place. One line goes into the plastic clip and the other was secured to the plastic tab with blue tape:

Then it's time to put the insulation back. First, secure the insulation on the 2 metal tabs then push the 7 plastic fasteners in place. They go in a lot easier than they came out:

The final result--a nice even spray all over the windshield:


