Ok so my rear differential axle seals were leaking and in reading here this seems common enough of an issue but there was a surprising lack of information on how to do the work so I figured I would write up a guide as there are some tricks a guy can use to make the job much easier. First of all I am going to say I am not a mechanic and I know I didn't do everything 100% correctly but hopefully this will be enough information to help some people considering doing the work. Doing this work saved me $650 on labour so was well worth it imo.
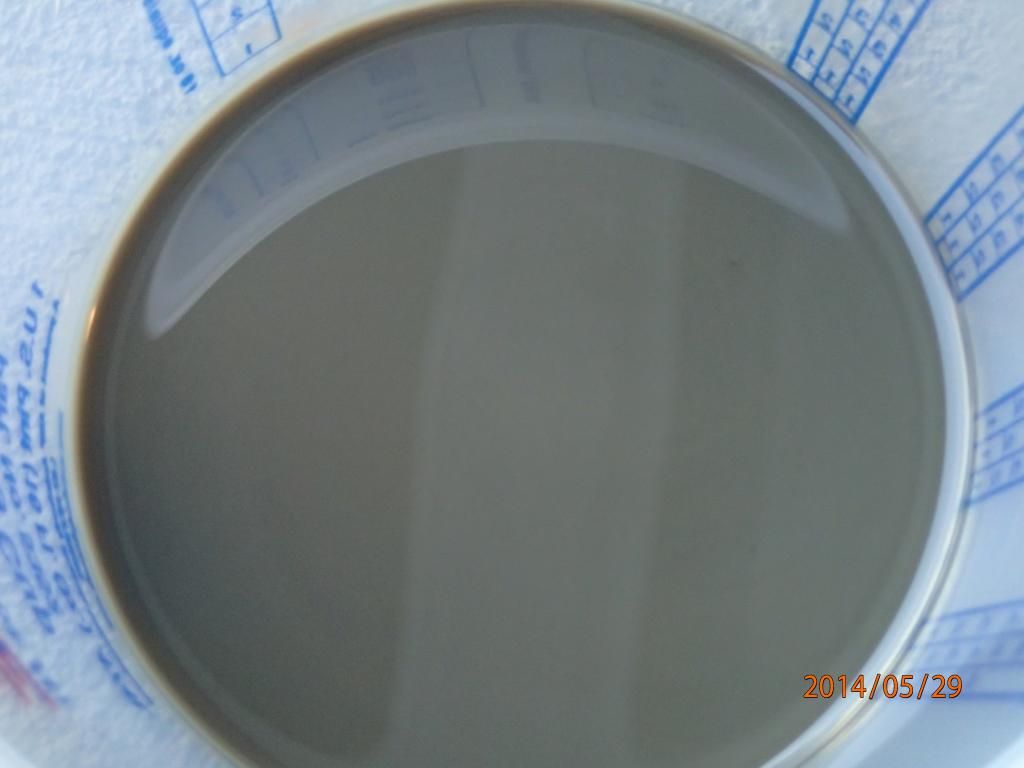
One thing I want to comment on is if you notice your seals are leaking do not waste time letting them leak. I checked my oil level right away and the oil was high enough and clean so I left it for a few days during which it was raining. When I changed my oil it looked like this...
![Image]()
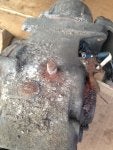
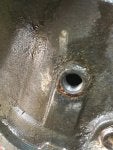
So first things first, this is what my axle seals looked like...
![Image]()
![Image]()
Once finished diagnosing that you need to do the work these are the tools you will need.
3/8 drive socket wrench with long, short and universal extensions
1/2 drive socket wrench may be needed to break bolts free
Torque wrench
12,14 and 17 mm sockets (with one of the 17 mm sockets being shallow as possible)
10 mm hex bit socket(preferably 3/8 or 1/2 in drive)
~ 2 lb hammer
Large blunt chisel/punch(preferably brass)
Oil pump(like outboard leg oil pump)
Jack, jack stands and tire iron
Step 1: Crack wheel lug nuts, jack up car and set on jack stands. I used a hydraulic jack on the main suspension arm and put jack stands where you would normally place the jack that comes with car.
Step 2: Remove oil drain plug. You will need the 10 mm hex bit socket for this. If you are like me your only 10 mm hex bit will be for use on a 1/4 in socket wrench and if your plug is as tight as mine was you will probably break your adapters like I did. I advise buying a 3/8 or better yet 1/2 in drive hex bit... While draining you can remove wheels, when finished put drain plug back in.
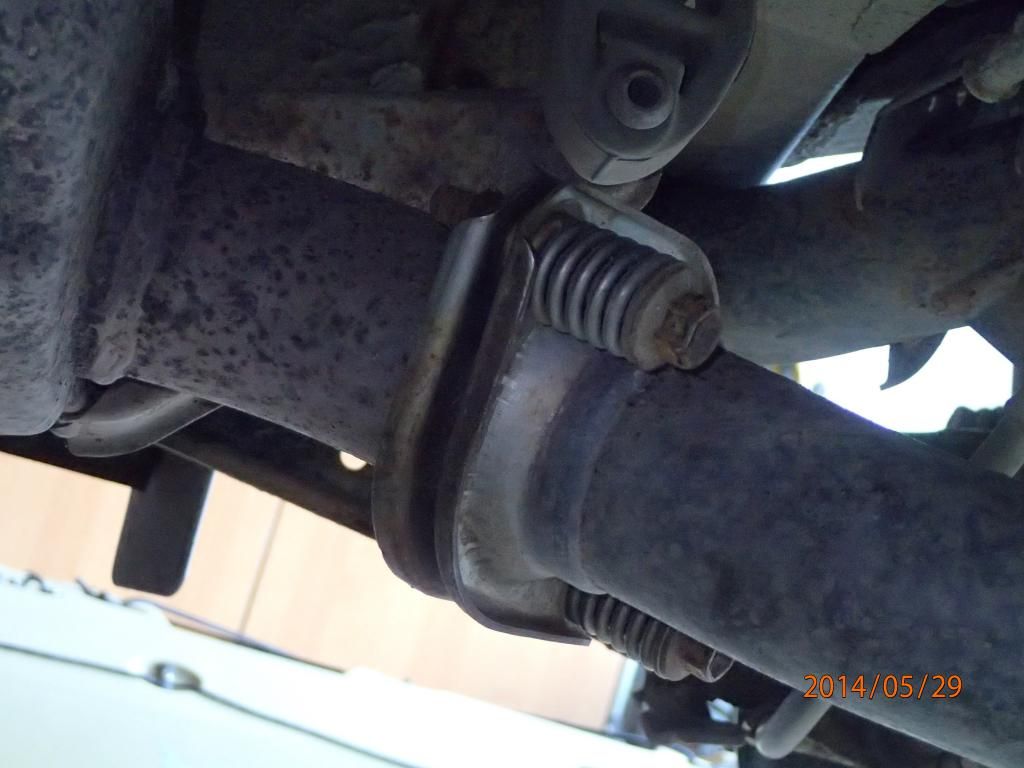
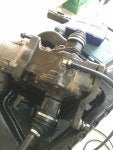
Step 3: Remove rear exhaust. There are 2 bolts and 2 hangers. Use some wd40 or spit or something to lube up the hangers to help remove them. You may need to soak the bolts with some penetrant blaster.
![Image]()
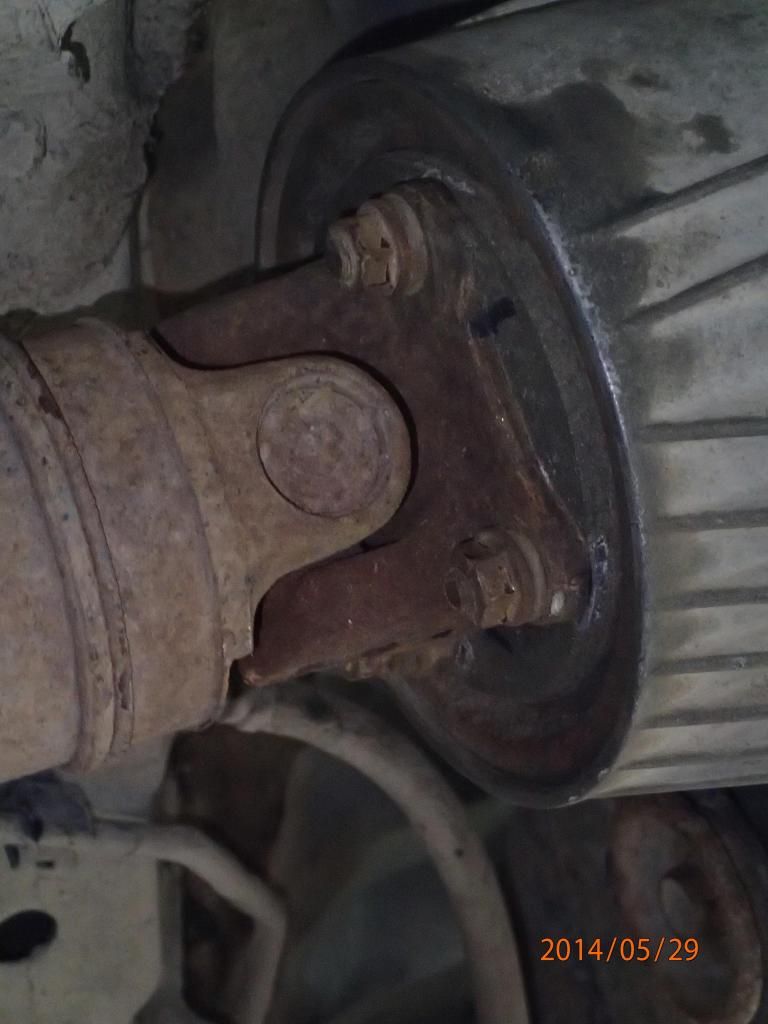
Step 3: Disconnect "propeller shaft" or drive shaft depending what you want to call it. If you are doing this on a lift you will have to take it completely off, if doing this on the ground you won't need to unbolt it from the transfer case. Whichever way you do it do not bend the middle angle more then 20 degrees. Before starting make a mark on differential and shaft so you can line it up the same as before. Then remove 4 nuts and washers, I found a 3/8 wrench with long extension then universal joint then short 12 mm socket to work best for this. If it is like mine you are going to have to persuade it to break free from diff with a hammer(probably want to use a wood block or something). Leave it resting on the bolts for now.
![Image]()
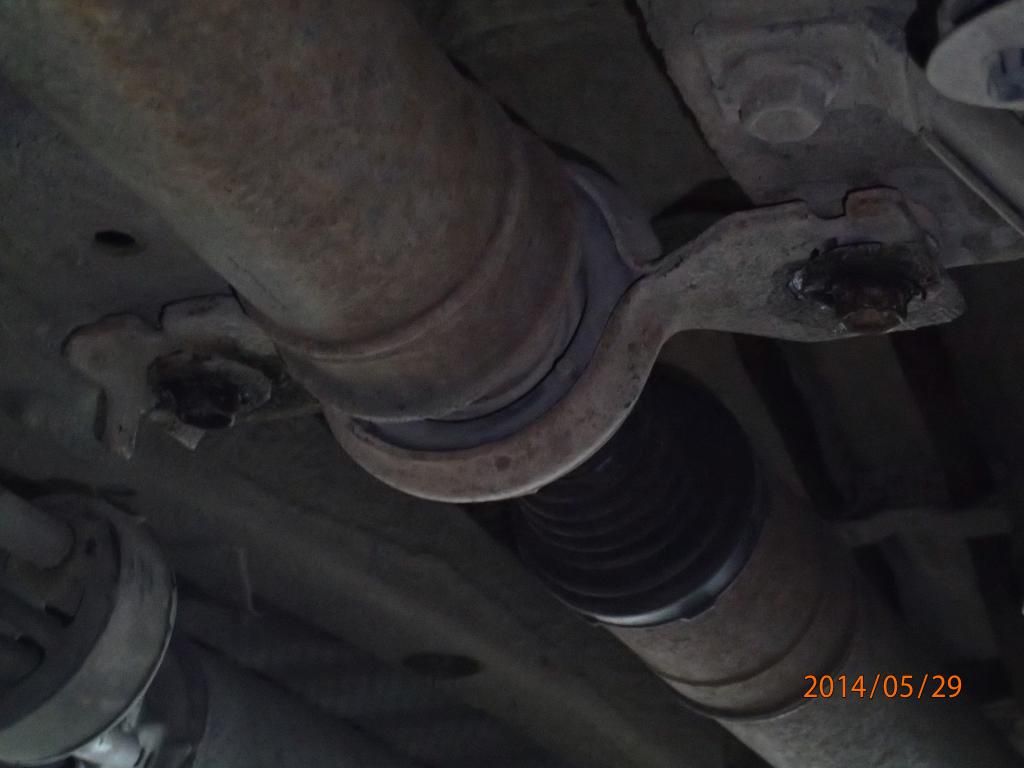
Step 4: Remove bolts at joint in propeller shaft. Once removed slide rear section forward and lower unit to rest on ground making sure angle doesn't exceed 20 degrees. The front section should rest nicely on exhaust and rear section on ground keeping it fairly straight as seen below(ignore missing differential...).
![Image]()
![Image]()
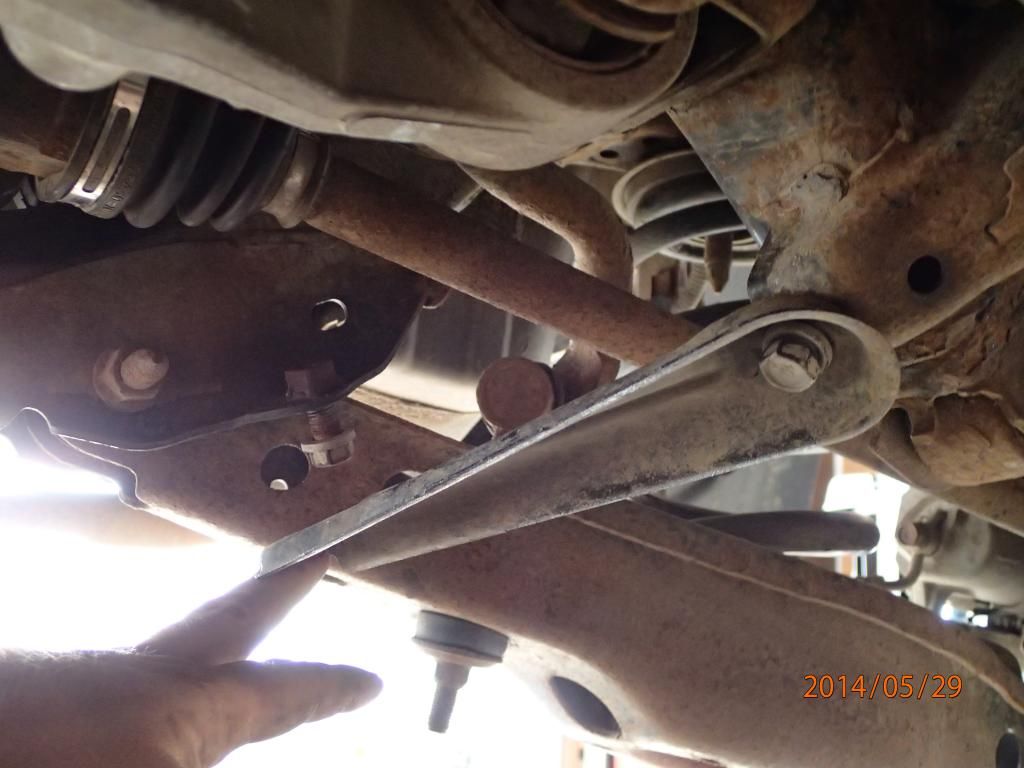
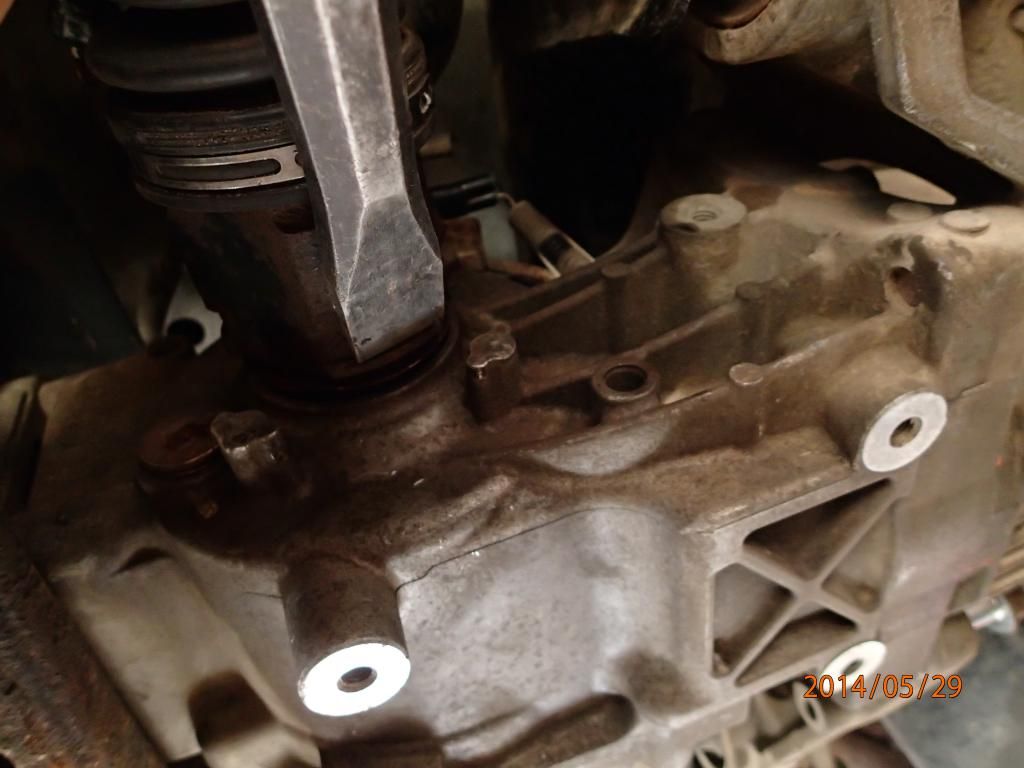
Step 5: Disconnect suspension braces as seen below. I realized I didn't need to fully remove them, just loosen the front bolt and remove back one and they will fall out of the way.
![Image]()
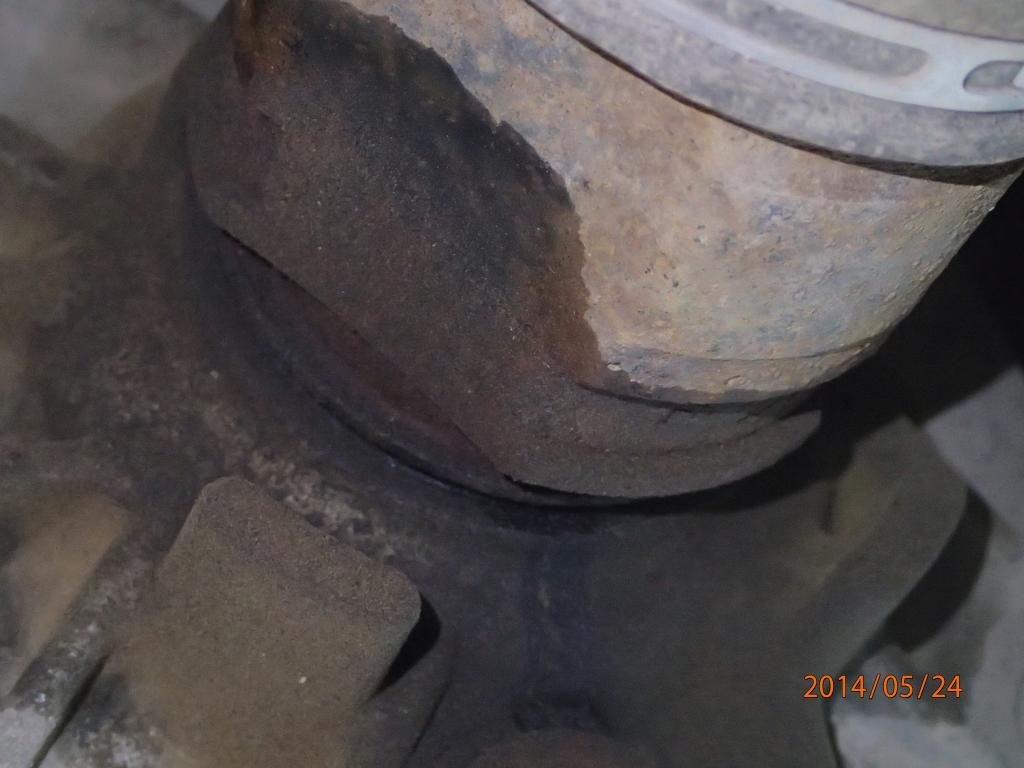
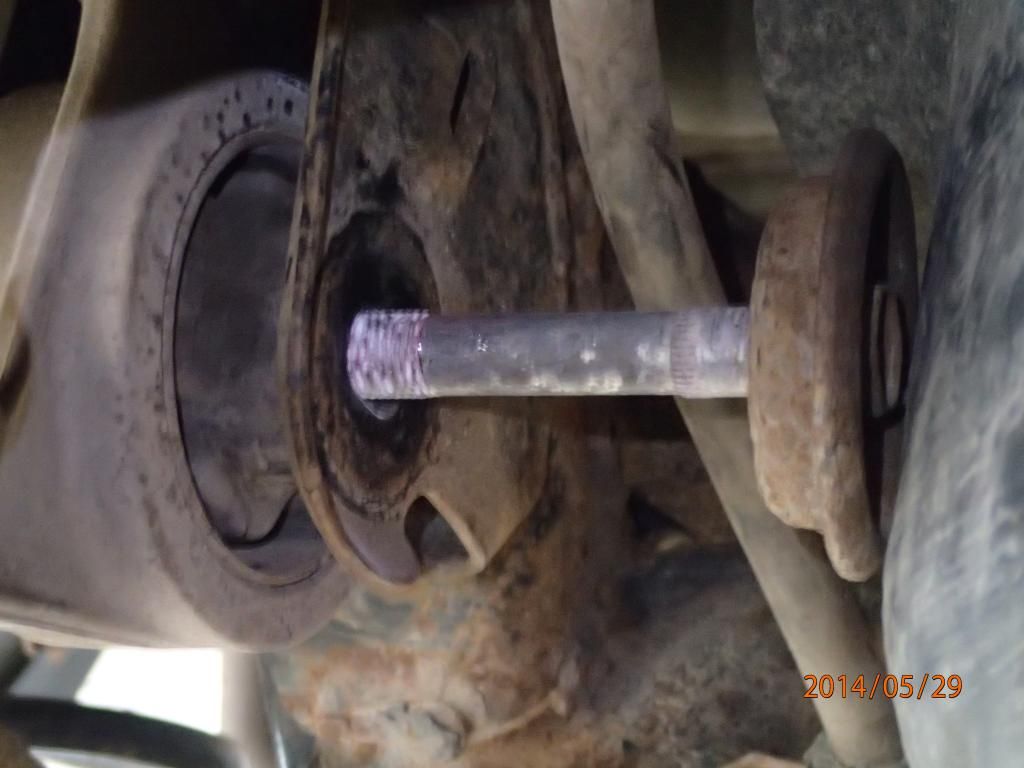
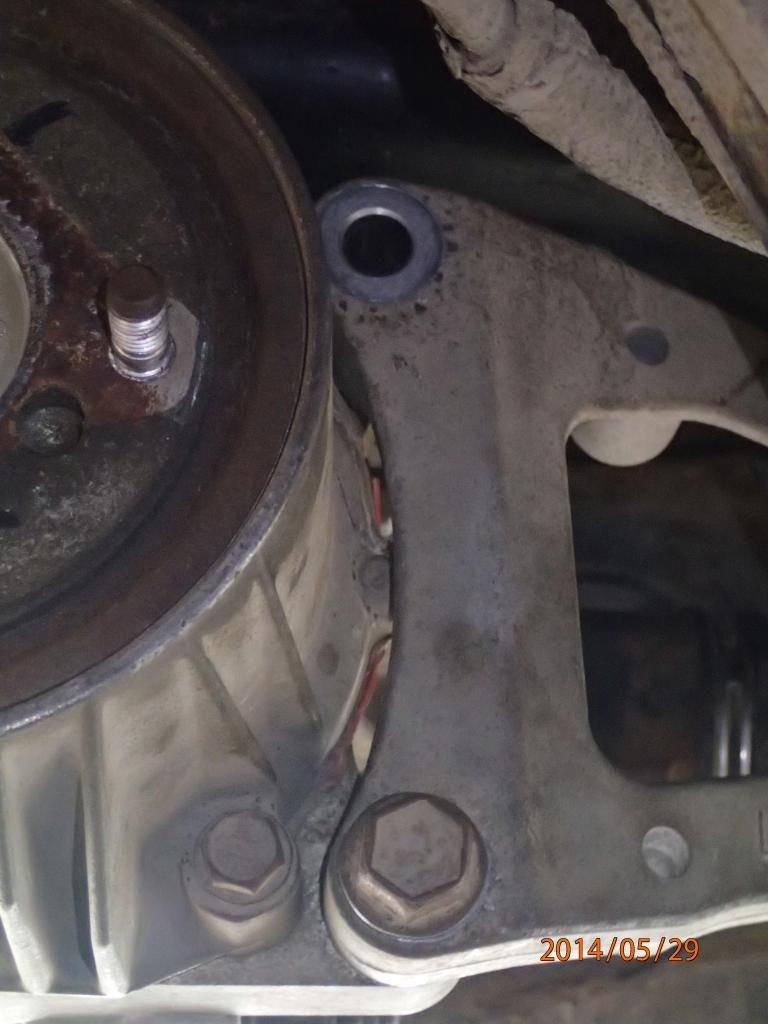
Step 6: Loosen differential mounts(don't remove them completely yet though). When doing this loosen the bolts not the nuts. The passenger side front is straight forward. The driver side was a little more complicated as the bolt on my car could not be removed because it hit the fuel tank as seen below. What I did was leave that one loose(will need it loose) and then remove the two bolts where the support mounts to differential. The rear mount bolt is on backside of support and is tricky to get to, you will need a shallow 17 mm socket and at that will only be able to remove it part way then if you are lucky like I was you can remove the rest by hand or else will have to fight with trying to get a wrench up there. Now with all the supports loose move on to next step.
![Image]()
![Image]()
![Image]()
Step 7: Pop cv axles free. This was a royal pita on mine. Most people say to pop these out with a bar, I got one free this way but no matter how hard I tried couldn't get the other side. If prying them out make sure you pry on the supports and nowhere else. To get the one free I used a heavier hammer(~ 2 lbs) and a large blunt chisel. I didn't take picture of this but it is pretty obvious how to do it, just opposite of picture below. The hammer and chisel method was far easier then the pry bar method and would have saved me literally an hour or more(I tried every pry bar and orientation I could think of...). You won't be able to remove axles yet so time to step 8.
![Image]()
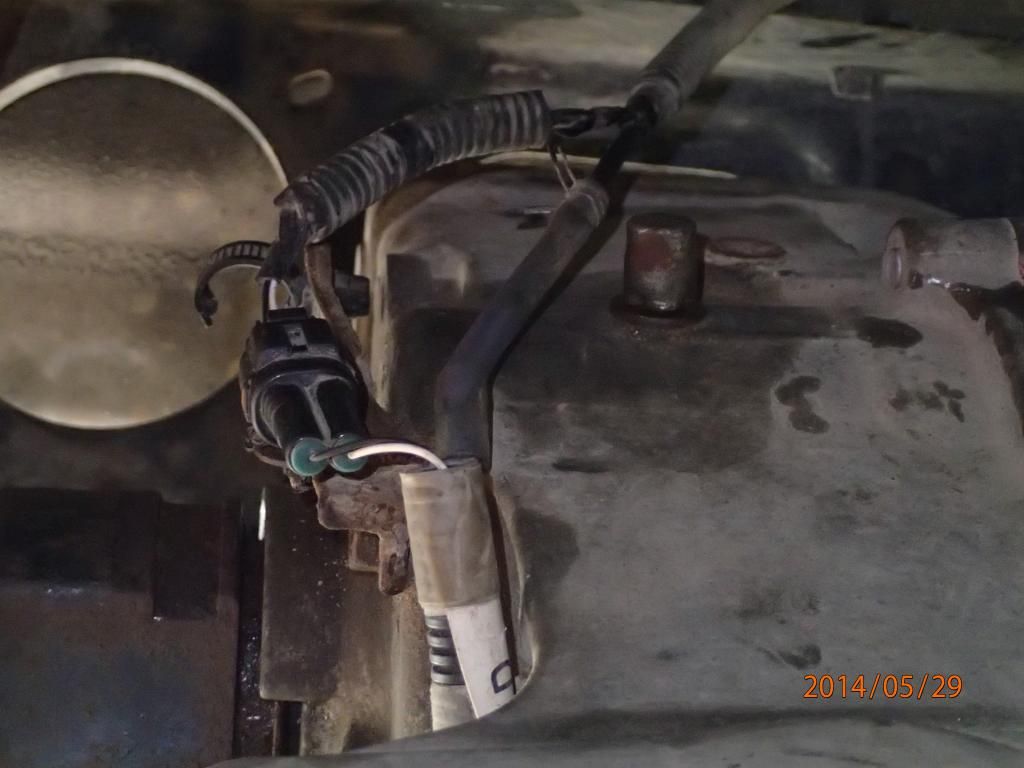
Step 8: Lower differential, This will be easiest with 2 people but can be done with only 1. You might be able to figure out how to use a jack but I opted for brute strength. After removing support bolts I brought the differential forward and angled it down onto my stomach. You won't be able to lower it too far because of the electrical and vacuum connections that need to be undone. The electrical connector is a squeeze to remove style and pulls out of the back and the rear clip will have to be undone. You should now be able to remove the cv axles with a little manoeuvring. With cv shafts out and electrical and vacuum hose unhooked the differential is now free to be removed. A good idea is to put cv axles in plastic bags to keep them clean.
![Image]()
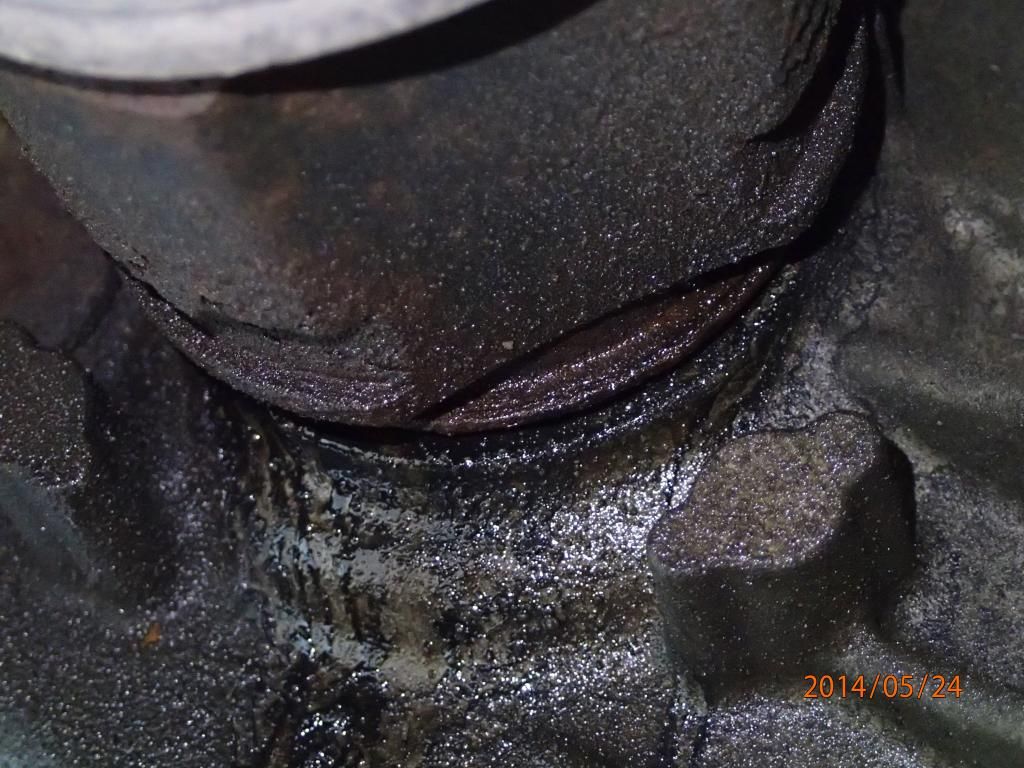
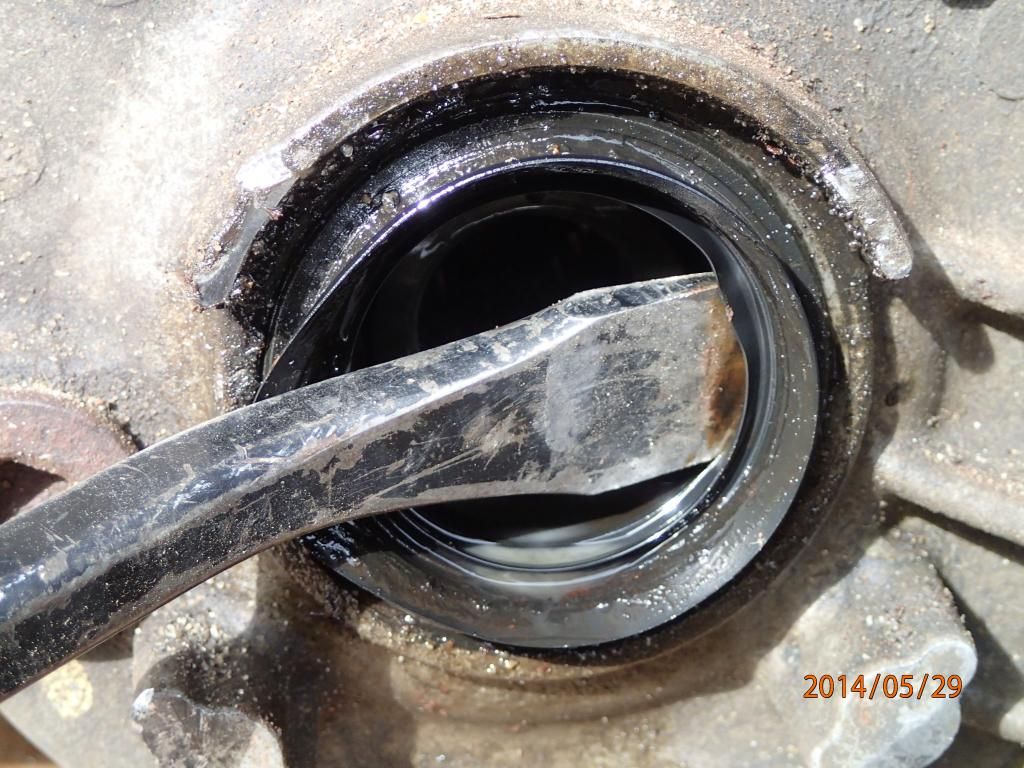
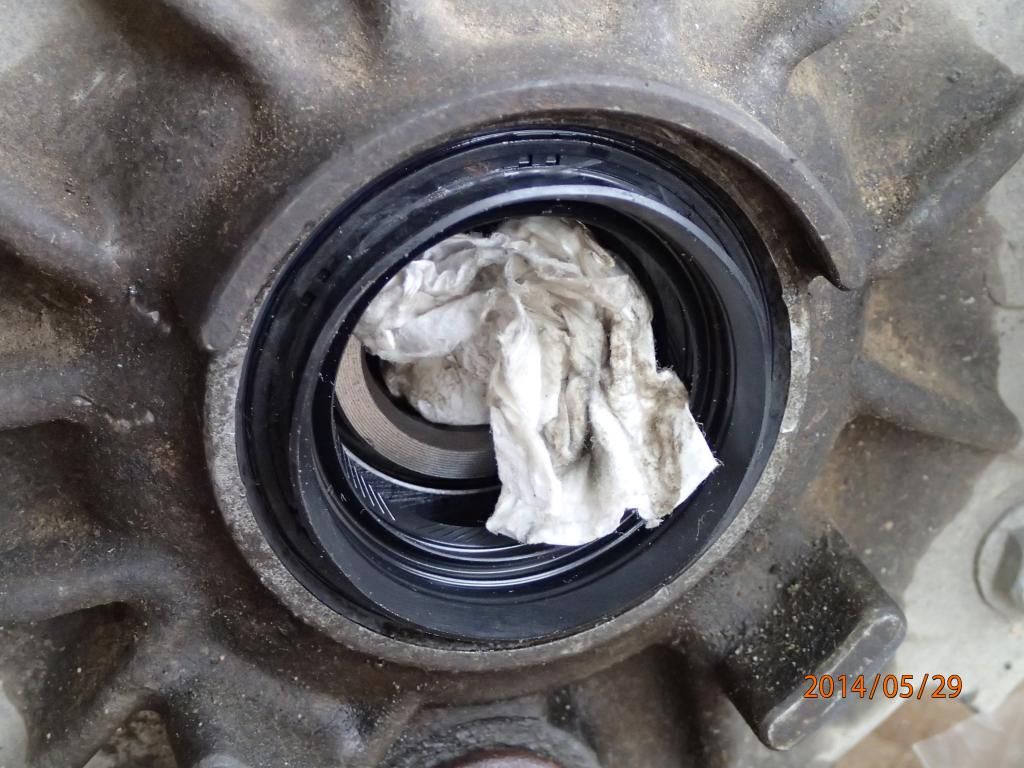
Step 9: Plug cv axle holes with paper towel and remove axle seals and install new ones. If you are like me you won't have the right tool for this. I carefully pried them out with a pry bar then installed the new ones very carefully with a hammer and punch(I used a little bit of oil on seal edge to help it slide in. Before removing take note of how far they sit into differential to know how far your new ones should sit.
![Image]()
![Image]()
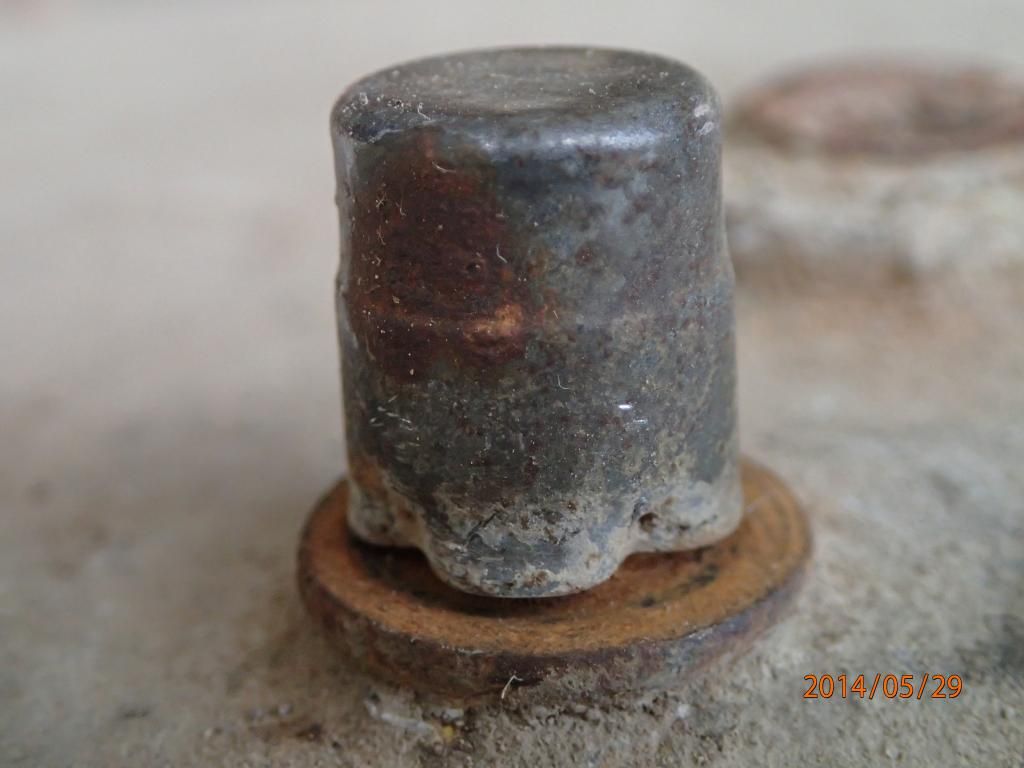
Now for the cause of all this. My breather valve was completely blocked off due to rust/scale. Unfortunately I didn't take a picture until after I had cleaned it. To clean it I broke the cap free and then twisted it until it had chewed most of the rust away.
![Image]()
Now all you have to do is put it back together!
One thing I want to comment on is if you notice your seals are leaking do not waste time letting them leak. I checked my oil level right away and the oil was high enough and clean so I left it for a few days during which it was raining. When I changed my oil it looked like this...
So first things first, this is what my axle seals looked like...
Once finished diagnosing that you need to do the work these are the tools you will need.
3/8 drive socket wrench with long, short and universal extensions
1/2 drive socket wrench may be needed to break bolts free
Torque wrench
12,14 and 17 mm sockets (with one of the 17 mm sockets being shallow as possible)
10 mm hex bit socket(preferably 3/8 or 1/2 in drive)
~ 2 lb hammer
Large blunt chisel/punch(preferably brass)
Oil pump(like outboard leg oil pump)
Jack, jack stands and tire iron
Step 1: Crack wheel lug nuts, jack up car and set on jack stands. I used a hydraulic jack on the main suspension arm and put jack stands where you would normally place the jack that comes with car.
Step 2: Remove oil drain plug. You will need the 10 mm hex bit socket for this. If you are like me your only 10 mm hex bit will be for use on a 1/4 in socket wrench and if your plug is as tight as mine was you will probably break your adapters like I did. I advise buying a 3/8 or better yet 1/2 in drive hex bit... While draining you can remove wheels, when finished put drain plug back in.
Step 3: Remove rear exhaust. There are 2 bolts and 2 hangers. Use some wd40 or spit or something to lube up the hangers to help remove them. You may need to soak the bolts with some penetrant blaster.
Step 3: Disconnect "propeller shaft" or drive shaft depending what you want to call it. If you are doing this on a lift you will have to take it completely off, if doing this on the ground you won't need to unbolt it from the transfer case. Whichever way you do it do not bend the middle angle more then 20 degrees. Before starting make a mark on differential and shaft so you can line it up the same as before. Then remove 4 nuts and washers, I found a 3/8 wrench with long extension then universal joint then short 12 mm socket to work best for this. If it is like mine you are going to have to persuade it to break free from diff with a hammer(probably want to use a wood block or something). Leave it resting on the bolts for now.
Step 4: Remove bolts at joint in propeller shaft. Once removed slide rear section forward and lower unit to rest on ground making sure angle doesn't exceed 20 degrees. The front section should rest nicely on exhaust and rear section on ground keeping it fairly straight as seen below(ignore missing differential...).

Step 5: Disconnect suspension braces as seen below. I realized I didn't need to fully remove them, just loosen the front bolt and remove back one and they will fall out of the way.
Step 6: Loosen differential mounts(don't remove them completely yet though). When doing this loosen the bolts not the nuts. The passenger side front is straight forward. The driver side was a little more complicated as the bolt on my car could not be removed because it hit the fuel tank as seen below. What I did was leave that one loose(will need it loose) and then remove the two bolts where the support mounts to differential. The rear mount bolt is on backside of support and is tricky to get to, you will need a shallow 17 mm socket and at that will only be able to remove it part way then if you are lucky like I was you can remove the rest by hand or else will have to fight with trying to get a wrench up there. Now with all the supports loose move on to next step.

Step 7: Pop cv axles free. This was a royal pita on mine. Most people say to pop these out with a bar, I got one free this way but no matter how hard I tried couldn't get the other side. If prying them out make sure you pry on the supports and nowhere else. To get the one free I used a heavier hammer(~ 2 lbs) and a large blunt chisel. I didn't take picture of this but it is pretty obvious how to do it, just opposite of picture below. The hammer and chisel method was far easier then the pry bar method and would have saved me literally an hour or more(I tried every pry bar and orientation I could think of...). You won't be able to remove axles yet so time to step 8.
Step 8: Lower differential, This will be easiest with 2 people but can be done with only 1. You might be able to figure out how to use a jack but I opted for brute strength. After removing support bolts I brought the differential forward and angled it down onto my stomach. You won't be able to lower it too far because of the electrical and vacuum connections that need to be undone. The electrical connector is a squeeze to remove style and pulls out of the back and the rear clip will have to be undone. You should now be able to remove the cv axles with a little manoeuvring. With cv shafts out and electrical and vacuum hose unhooked the differential is now free to be removed. A good idea is to put cv axles in plastic bags to keep them clean.
Step 9: Plug cv axle holes with paper towel and remove axle seals and install new ones. If you are like me you won't have the right tool for this. I carefully pried them out with a pry bar then installed the new ones very carefully with a hammer and punch(I used a little bit of oil on seal edge to help it slide in. Before removing take note of how far they sit into differential to know how far your new ones should sit.
Now for the cause of all this. My breather valve was completely blocked off due to rust/scale. Unfortunately I didn't take a picture until after I had cleaned it. To clean it I broke the cap free and then twisted it until it had chewed most of the rust away.
Now all you have to do is put it back together!


")